These are the steps to getting pi-topOS to USB boot on the Raspberry Pi 4. This can take some time due to the lack of up to date pi-top image. We can only hope for one to be released and save all these steps and time
What You Need
Hardware
1x pi-top[4] or Raspberry Pi 4
1x Micro SD card
1x External Hard Drive/SSD in a compatible enclosure/adapter
Software
pi-topOS ISO dated 2020-12-22
Raspberry Pi Imager (works on Windows Mac and Linux)
For known compatible SSD enclosures/adapters you can check here which has a list of known enclosures and adapters for 2.5" SSD and m.2 SATA SSD. If you can, use one that is UASP compatible to get the fastest speed/results. Also NVMe drive are not compatible at this time.
EEPROM update
This is an important step if you have not updated the EEPROM before, In order for the RPi to boot from USB you need to have a compatible EEPROM firmware. Keeping these steps here in case people need to do this
If you know your EEPROM has the latest update of at least 3rd Sept 2020 (not 3rd Sept 2019) or after then you can skip this whole part right to pi-topOS for USB Boot
- Boot into any operating system to check the eeprom firmware version
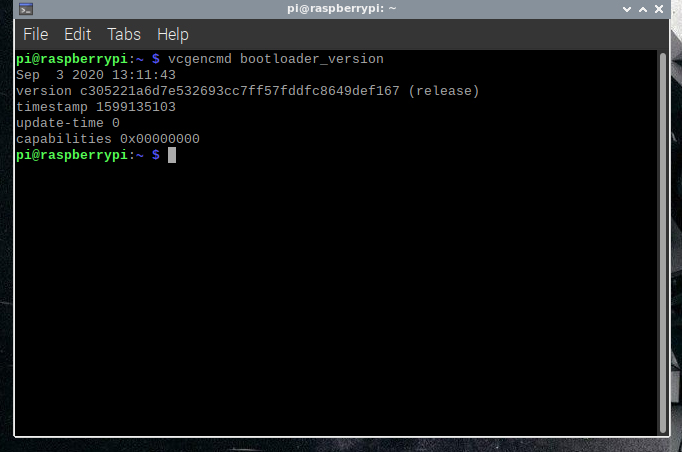
- In terminal enter
vcgencmd bootloader_versionand if the date is Sept 3rd 2020 (Please read the date carefully) then you can skip these steps and move to the next step “pi-topOS for USB Boot”
- Download, install and run, also insert your Micro SD card into your PC
Raspberry Pi Imager
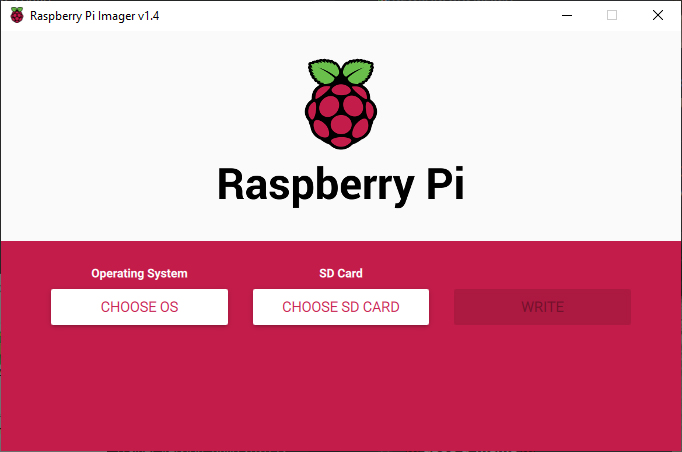
- Select “Choose OS”
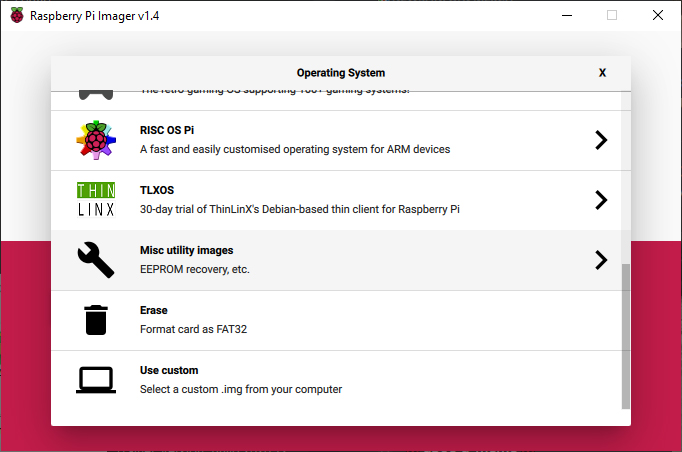
- Scroll to the bottom and select “Misc utility images”
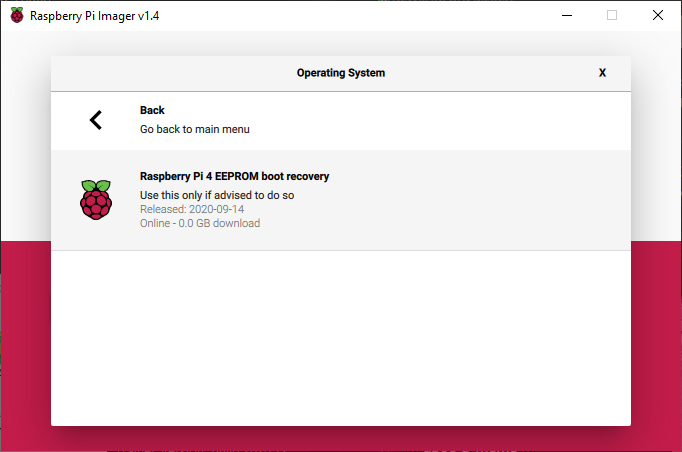
- Select “Raspberry Pi 4 EEPROM boot Recovery”
- Select your SD card and select write
- Insert your Micro SD card into your RPi4 or pi-top[4] and power it on
- once the Activity light is flashing fast, the eeprom is updated
Alternative way with Raspberry Pi OS
- Start your RPi 4 or pi-top[4] using Raspberry Pi OS
- Run a full update with the following terminal commands
sudo apt updatesudo apt full-upgradesudo reboot
- check that the EEPROM has been updated with
vcgencmd bootloader_version
pi-topOS for USB Boot
- Insert your Ecternal HDD/SSD into your PC and load up Raspberry Pi Imager

- Select “Choose OS”
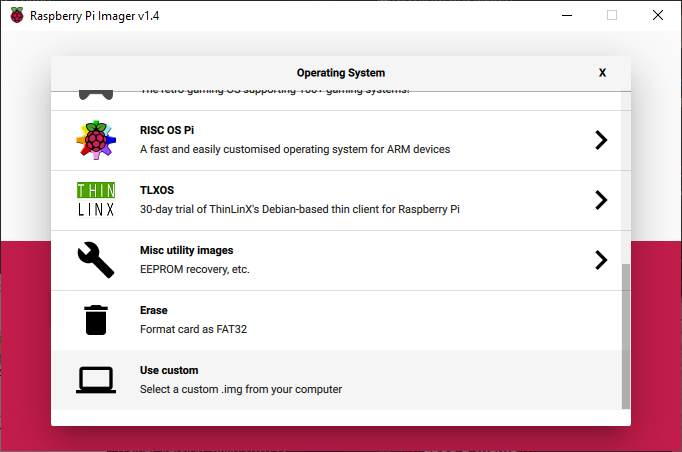
- Scroll to the very bottom and select “Use Custom”
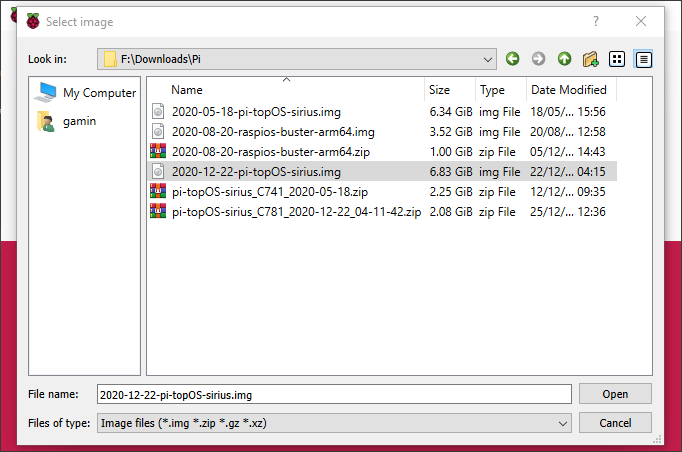
- Navigate to your image file (Latest Version: 2020-12-22-pi-topOS-sirius.img) and select and open it
- Select your USB SSD/HDD by clicking Choose SD Card and then click Write
- Once complete, plug the USB SSD/HDD into the pi-top[4] USB3 and power it on
- The first boot up will expand the File System for to the whole drive, then reboot
- Go though the initial setup, connect to network, install updates etc.
- Once rebooted, leave the system idle for a few mins, you may get a firmware update pop up. If you do, allow it to update and reboot
Once done, you will have a fully up to date and USB bootable pi-topOS
This has been update to reflect the 22nd Dec 2020 image file which eliminates the need to use an SD card to update the OS then to use SD Card Copier and image the SD Card to the USB drive, shutdown and remove the SD card. This now saves a good 2-3 hours to be able to boot from USB.
Thanks pi-top team 


 so I’ll certainly be pushing hard to get it done!
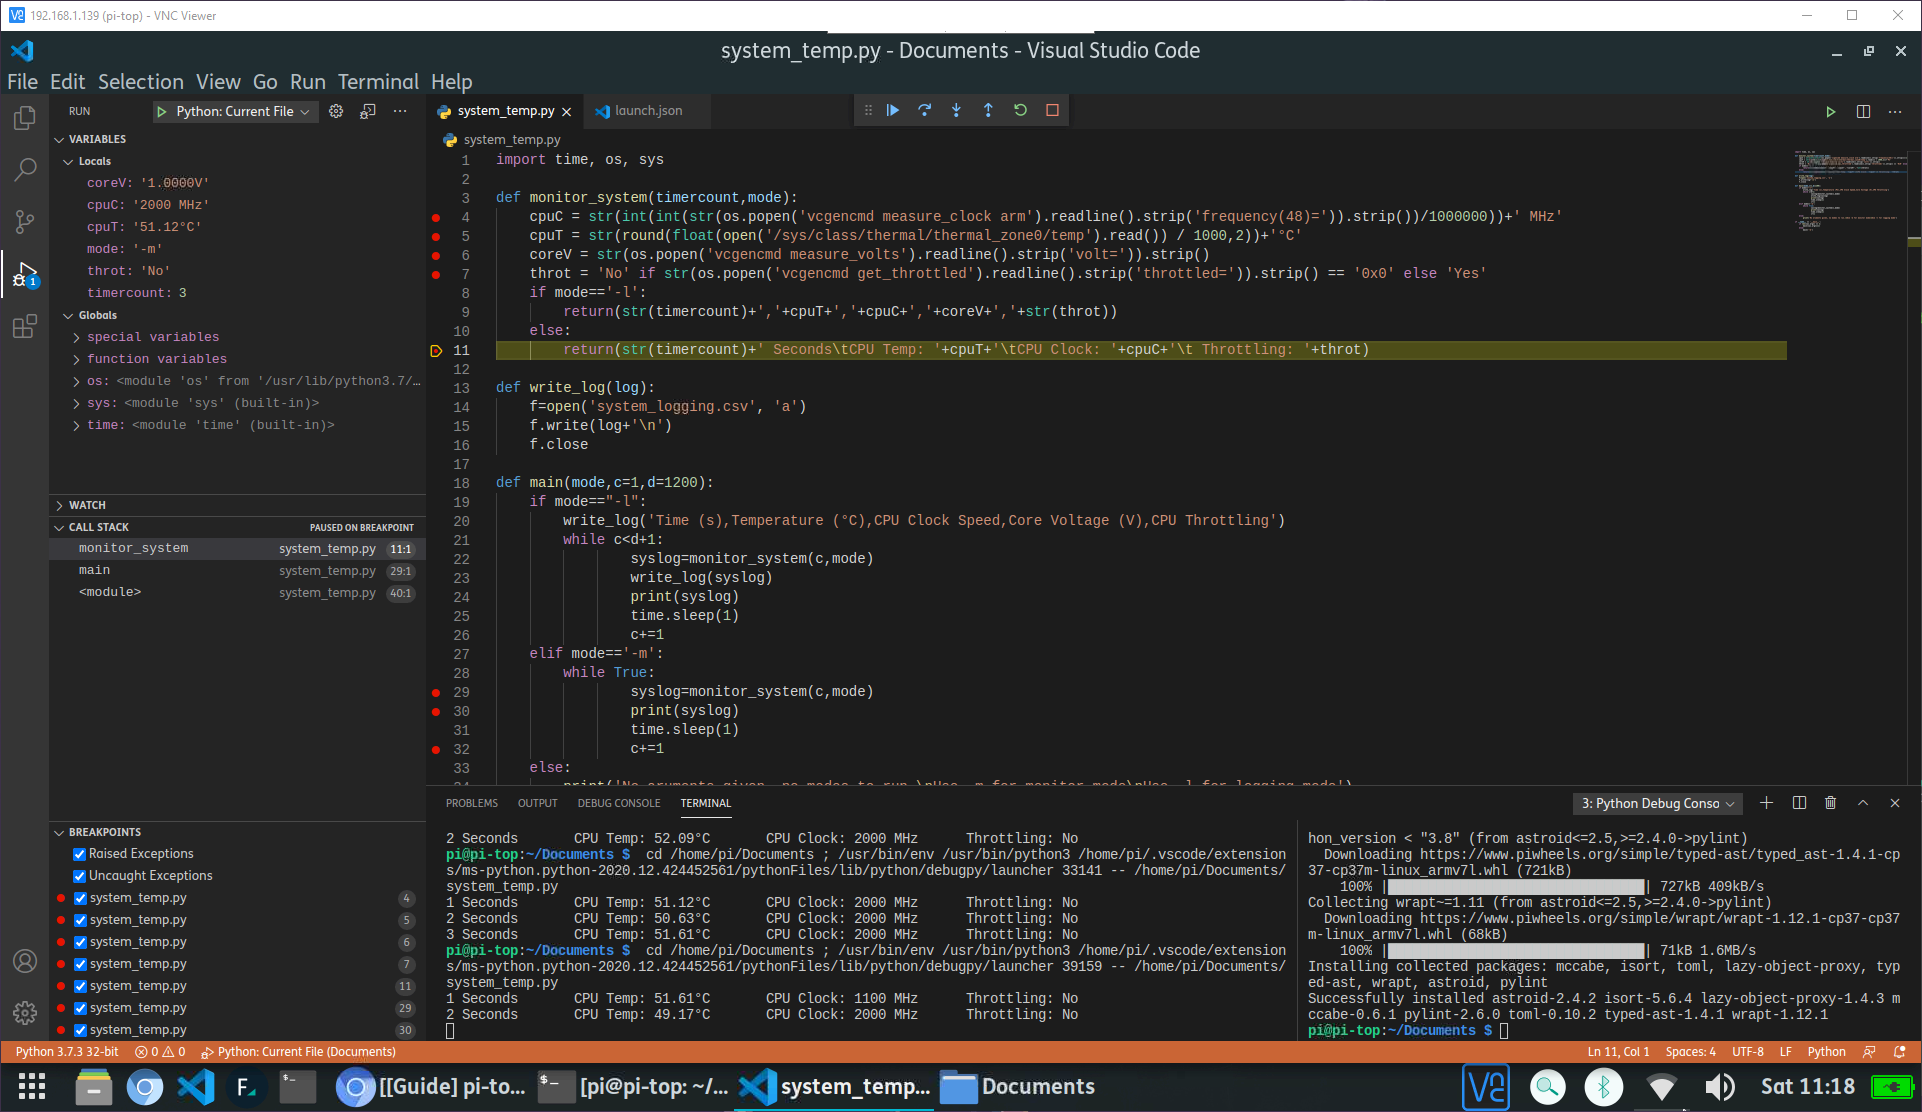
 you guys are awesome. Thank you very much the pi-top team
  I’ll check the version issue with the team and try and get that updated by default.