
@Luis so I done a thing and got a positive result
2 Likes
@pi-topMIKE @Luis @Supernovali I FINALLY DONE IT!!!
got GPS info running in the system menu  sooooooo much starting and stopping pt-sys-oled.service
  and soooooooo much looking at the code wondering what I got wrong and why the service restarts itself when selecting the GPS page. BUT i finally got it working and it does update every second which is nice
The only information that is being displayed is from RMC NMEA sentence, Lat Lon and speed
1 thing with it is that it takes a second or 2 to change to the GPS, but only happens once, i dont know why, it just does, but going back to it after its perfectly fine
https://www.youtube.com/watch?v=YxkZOCtfCP8
WHAT I DONE
I started modifying a copy of the WiFi Widget then scrapped it gave me the information to write my code
Step 0: Edit Menu.py to add an extra menu item
- Line 6 : add gps under ethernet
- Line 93 : copy the CPU MenyPage item
- paste into line 103
- change cpu to gps in the newly pasted MenuPage
- Create a python file in sys_info folder called gps.py
Step 1: config my GPS unit to ONLY show RMC NMEA data
uart.write(b'$PMTK314,0,1,0,0,0,0,0,0,0,0,0,0,0,0,0,0,0,0*35\r\n')
Step 2: Config my GPS unit to a 1hz refresh
uart.write(b'$PMTK220,1000*1F\r\n')
Step 3: Install pynmea2 as sudo
Step 4: Get some sort of NMEA displaying on the screen as in my previous post
Step 5: get pynmea formatting
Step 6: get Lat, Lon, Speed displayed in the correct display format
Step 7: import common values to position the text
THE CODE
And here is the code i wrote to make all this happen ( no fancy icons or that just text) enjoy the mess
 import serial, io, pynmea2

from components.widgets.common.functions import draw_text
from components.widgets.common.base_widgets import BaseSnapshot
from components.widgets.common.values import (
    default_margin_x,
    common_first_line_y,
    common_second_line_y,
    common_third_line_y,
)


class Hotspot(BaseSnapshot):
    def __init__(self, width, height, mode, interval, **data):
        super(Hotspot, self).__init__(width, height, interval, self.render)
        self.uart = serial.Serial('/dev/ttyS0', 9600, timeout=5.0)
        self.uart_read = io.TextIOWrapper(io.BufferedRWPair(self.uart, self.uart))
        self.interval = 1

        self.nmea_dict = {
            'latitude' : "",
            'longitude' : "",
            'speed' : ""}

    def render(self, draw, width, height):
            line = self.uart_read.readline()
            msg = pynmea2.parse(line)
            if msg.sentence_type == 'RMC':

                pole = 'N' if float(msg.latitude) > 0 else 'S'
                lat = f"***{pole} %02dm %04.2fs" % (msg.latitude_minutes, msg.latitude_seconds)
                draw_text(draw, xy=(default_margin_x,common_first_line_y), text=str(lat))

                pole = 'E' if float(msg.longitude) > 0 else 'W'
                lon = str(abs(int('%02d' % (msg.longitude)))).zfill(3)
                lon = f"***{pole} %02dm %04.2fs" % (msg.longitude_minutes, msg.longitude_seconds)

                draw_text(draw, xy=(default_margin_x,common_second_line_y), text=str(lon))
                speed = f'{round((float(msg.spd_over_grnd) * 1.150779448),1)} MPH'
                draw_text(draw, xy=(default_margin_x,common_third_line_y), text=str(speed))
BASE STARTING POINT
this is all i took from the WiFi widget to start my code
from components.widgets.common.functions import draw_text
from components.widgets.common.base_widgets import BaseSnapshot
from components.widgets.common.values import (
    default_margin_x,
    common_first_line_y,
    common_second_line_y,
    common_third_line_y,
)


class Hotspot(BaseSnapshot):
    def __init__(self, width, height, mode, interval, **data):
        super(Hotspot, self).__init__(width, height, interval, self.render)

    def render(self, draw, width, height):
        draw_text(draw, xy=(default_margin_x,common_first_line_y), text='Hello pi-top[4]')
Conclusion
I look forward to an easier way to add to the system menu, any 3rd party modules, install them wiht sudo pip3, whats next with the system menu for me? NOTHING, was really frustating to code, any little error will cause the menu to fail starting (no reboot required, just disable service, stop it enable it and start it). VSCode cannot be started via sudo so saving every time requires typing in password.
Its done, a proof of concept that works
4 Likes
@CAProjects: Brilliant! Well done and again thanks for your hardwork and sharing this with us. I will definitely be adding this to my sub-menu😊. Will also try to have the logo for the gps you created, it’s simply to nice to leave it out.
With regards to the pt-sys-oled service, I feel your pain😂
Did you implement the other widgets that were there (disk, uptime, clock, etc)?
Have a great weekend,
Luis
2 Likes
Awe yeah!!! I love it. I’m going to start tinkering a bit here and there too. So much going on right now I havent been sleeping good but I’ll probably get to it tomorrow and play with it too
No I did not as I did not focus on them.
I am thinking of doing a proper knowledge base up on what functions you can import and how to use them and how to make widgets so that we have some documentation on how to do it all.
@Luis the disk, uptime, etc does need an overhaul to the design as they are rather basic so when i know more I may also look into doing that too.
I for got tp mention that another annoyance i had was that i could not use VSCode with Remote SSH when working all this out, and that is because i could not save the work due to needing to enter a password all the time so everything had to be done on the pi-top itself 
1 Like
@CAProjects nice one!!
For the VSCode issue, can you just use:
sudo chmod -R 777 /path/to/directory
to give full access to edits? Probably safer to store them in the home directory and copy them over using sudo when done though…
@CAProjects: I think a knowledge base would be fantastic, this would definitely help a lot, especially for people like me who are not very versed in programming😂. I did come across this, which gives out some details:
https://pi-top-pi-top-python-sdk.readthedocs-hosted.com/en/stable/api_pitop_device.html
Don’t know if you seen it before.
Yeah, the uptime, disk are pretty basic but they do the work😂. Would be nice if we can get a widget working for vcgencmd measure_temp and vcgencmd get_config arm_freq to output the info on the miniscreen. For me at least these would be very useful since I am running the RPI overclocked.
2 Likes
measure_temp and get_config arm_freq is actually easy I have the code for that as I made a system temp script for cooling testing
CPU Temperature
str(round(float(open('/sys/class/thermal/thermal_zone0/temp').read()) / 1000,2))+'°C'
CPU Clock Speed
str(int(int(str(os.popen('vcgencmd measure_clock arm').readline().strip('frequency(48)=')).strip())/1000000))+' MHz'
Both are 1 liners that gets the values and strips everything and formats it in 1 go. That’s my old way of doing it, would do it as an fstring now
3 Likes
This is what got me tinkering with the oled in the first place. I was planning on adjusting the looks of the CPU monitor and add temp and speed to it. Just been so busy with everything else, I havent return to it yet.
2 Likes
@Supernovali: If you get this running please let us know. I am also curious about the temp and speed displays widget😉. Thanks
1 Like
Wowww🤗, yess pleaseee😂. Can I also keep disk usage, clock, etc and use this also?
this is a seperate widget so you can add it as a new one, still working out some kinks tho
1 Like
Will the GPS code work in the same way? That would be awesome to have all these extra widgets at a push of a button. An sftp start/stop widget would also be something really nice.
Thanks again for everything 
GPS code was done, its at the top of this thread. Was how i cracked making a widget
https://forum.pi-top.com/t/pi-top-4-menu-tweaks/614/16?u=caprojects
1 Like
Sorry forgot about the post, thanks for reminding me. Can’t wait to play with this later today😁
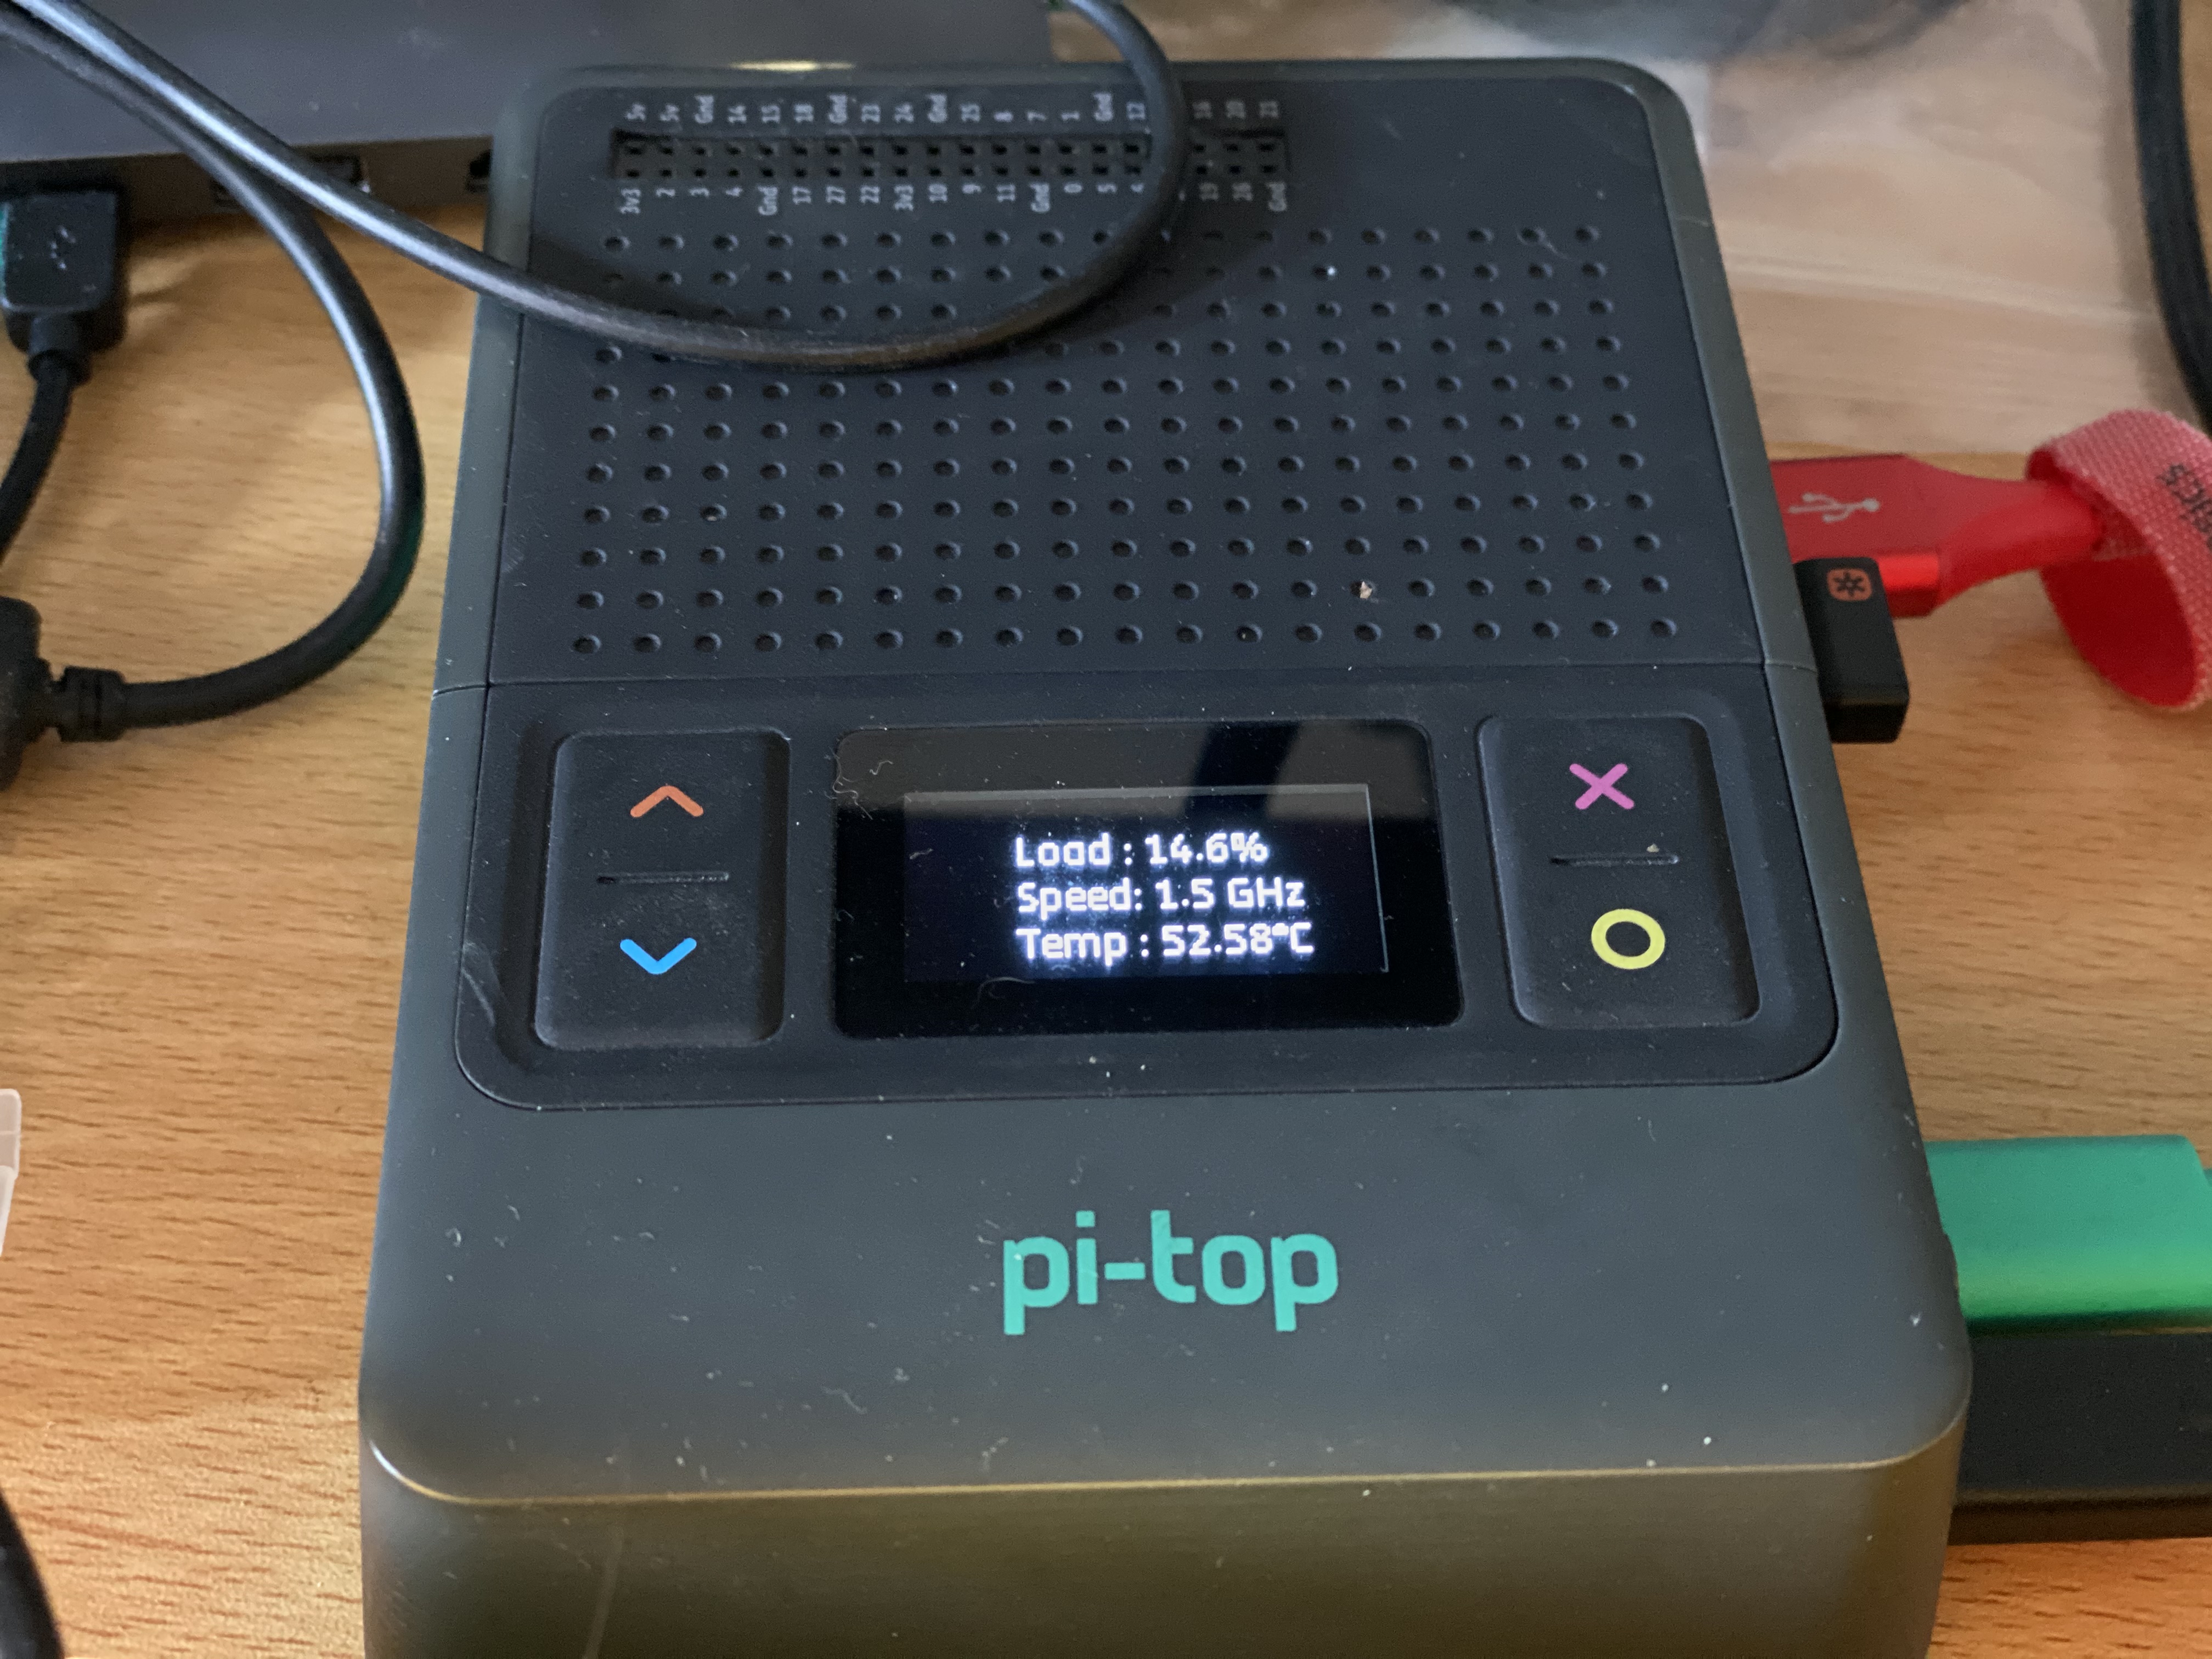
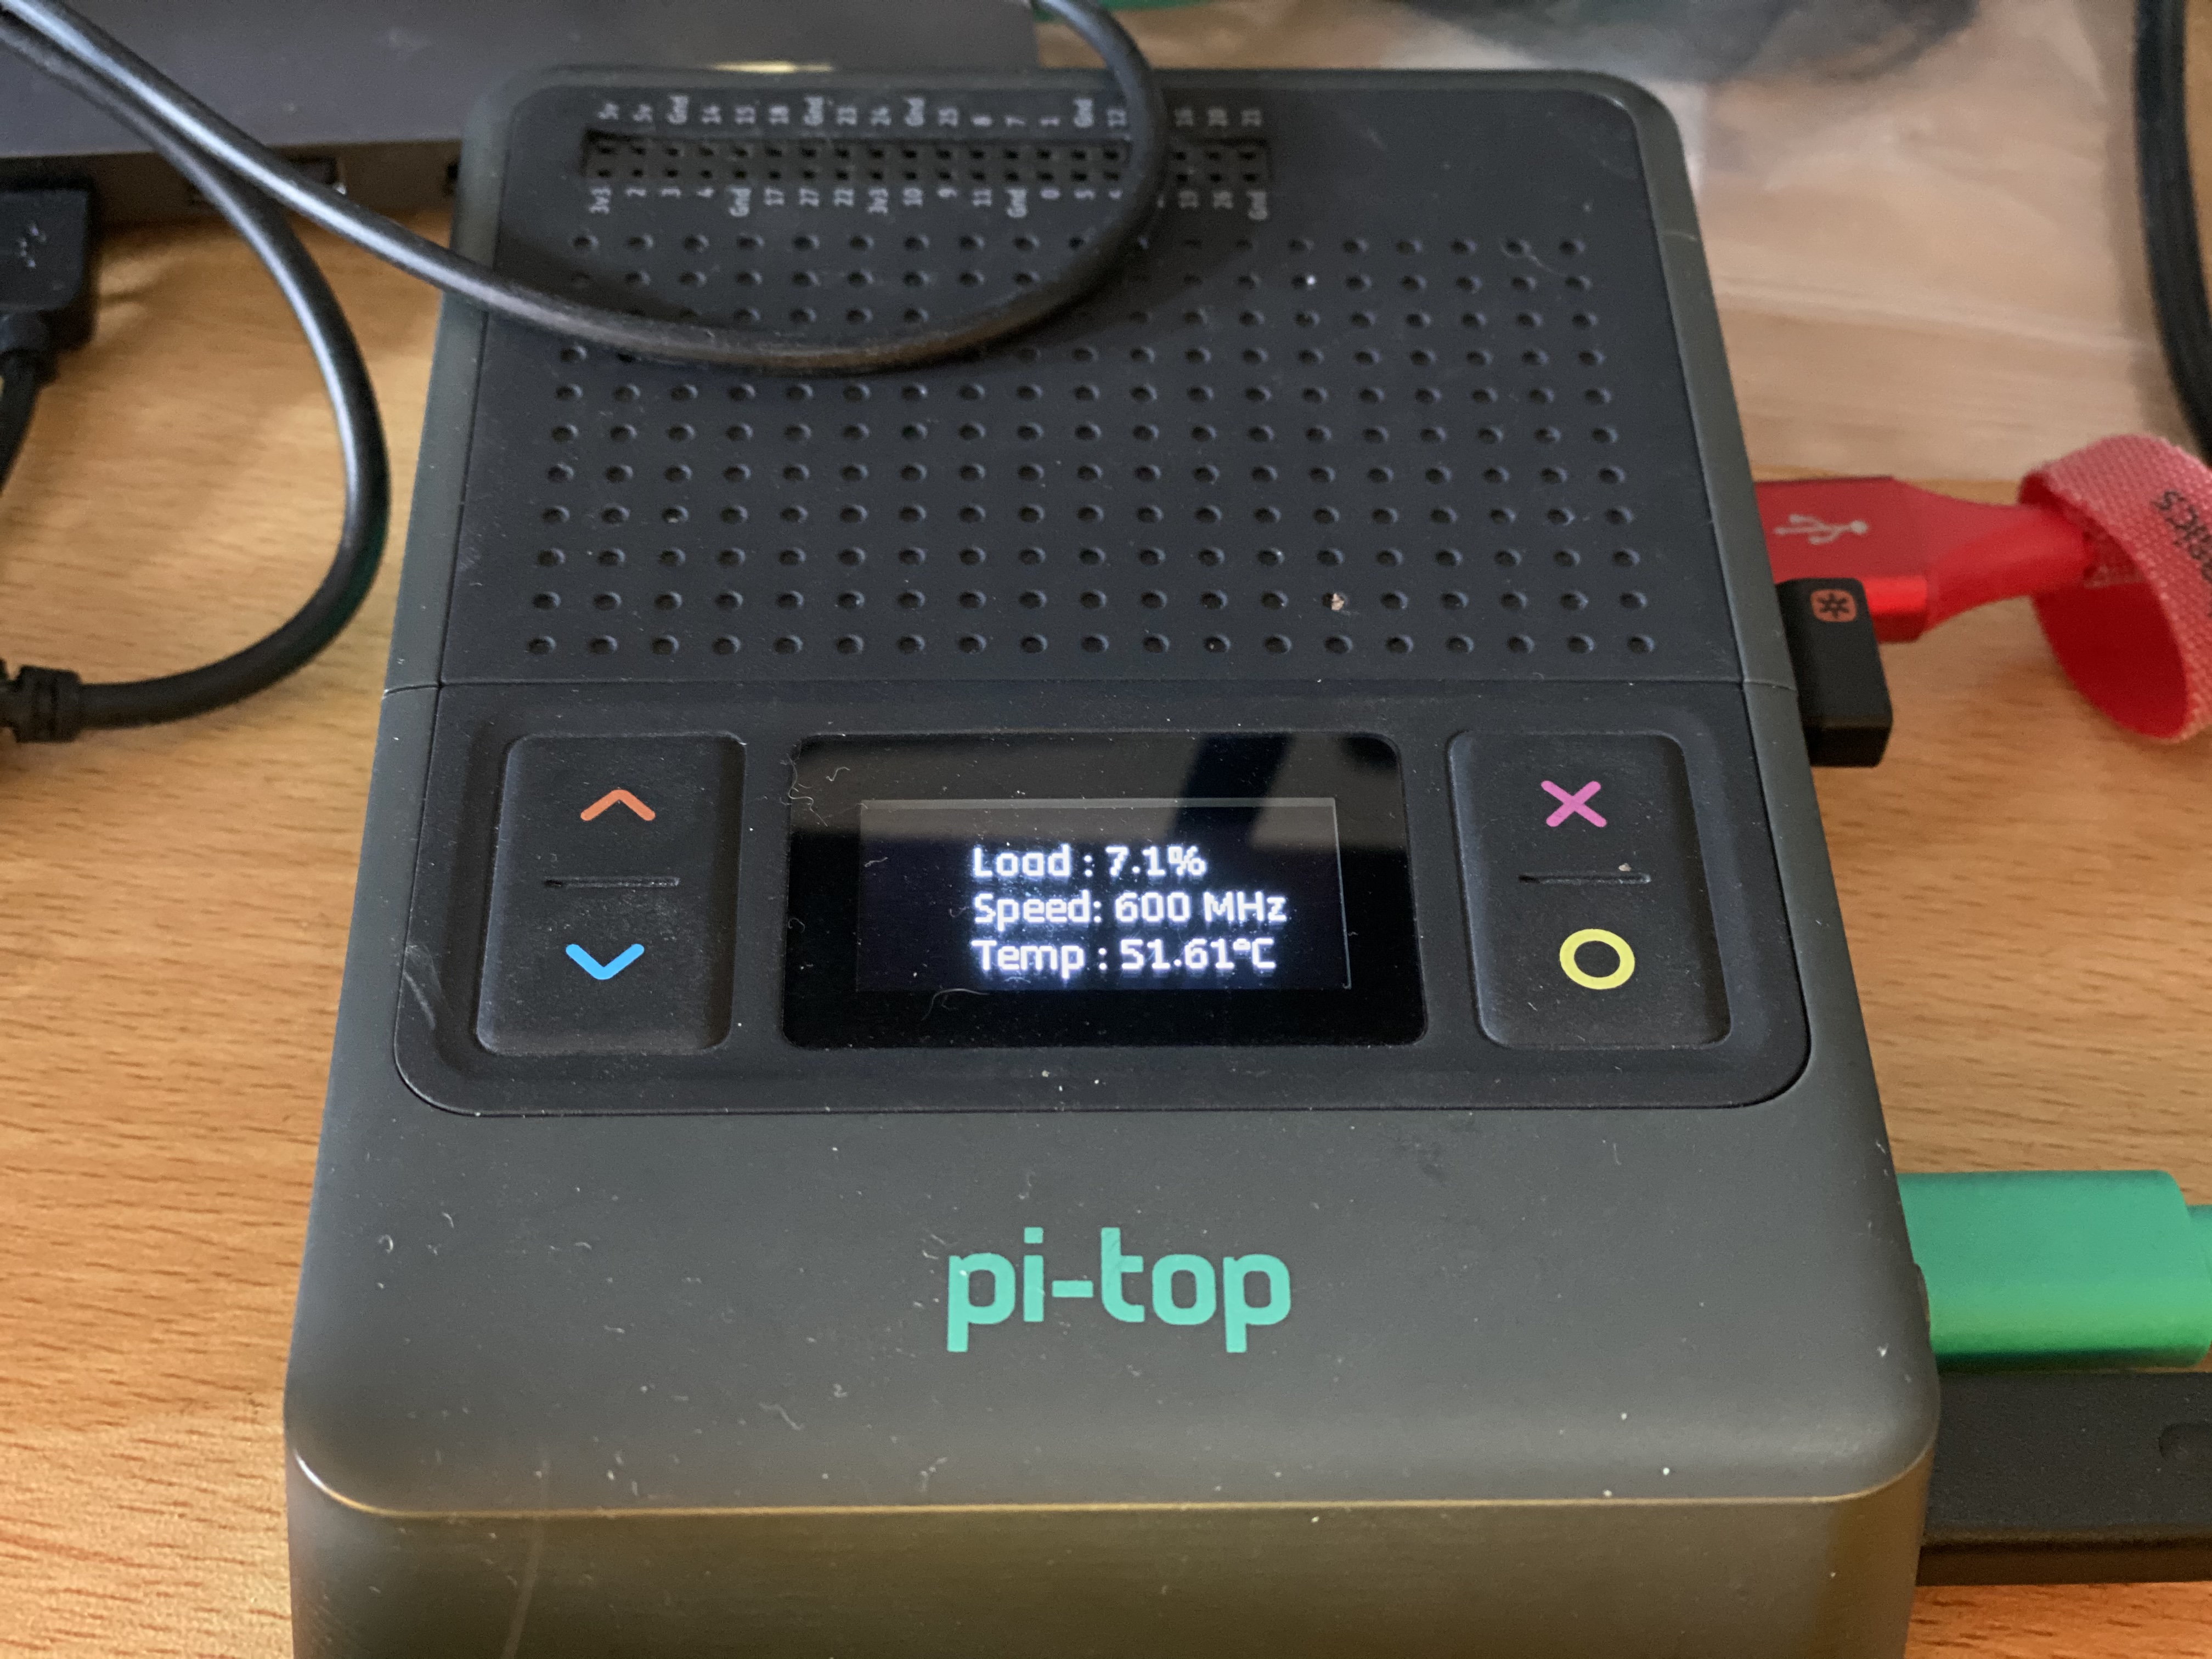
Here is what is the finished code for CPU load, speed and temp
No fancy animation or graphics yet, working on working that out
If the CPU speed is less than 1000 it will show the speed in MHz and if its >= 1000 then it will show in GHz
import psutil
from gpiozero import CPUTemperature
from components.widgets.common.base_widgets import BaseSnapshot
from components.widgets.common.functions import get_image_file_path, draw_text
from components.widgets.common.image_component import ImageComponent
from components.widgets.common.values import (
    default_margin_x,
    common_first_line_y,
    common_second_line_y,
    common_third_line_y,
)


class Hotspot(BaseSnapshot):
    def __init__(self, width, height, mode, interval, **data):
        super(Hotspot, self).__init__(width, height, interval, self.render)
        self.interval = 1.5
        self.cpu = CPUTemperature()

    def render(self, draw, width, height):
        cpuSpeed = round(float(psutil.cpu_freq(percpu=False).current))
        cpuTemp = round(self.cpu.temperature,2)
        cpuLoad = psutil.cpu_percent(percpu=False, interval=1)
        cSpeed = f'{cpuSpeed} MHz' if cpuSpeed < 1000 else f'{cpuSpeed/1000} GHz'
        draw_text(draw, xy=(default_margin_x,common_first_line_y), text=f'Load : {cpuLoad}%')
        draw_text(draw, xy=(default_margin_x,common_second_line_y), text=f'Speed: {cSpeed}')
        draw_text(draw, xy=(default_margin_x,common_third_line_y), text=f'Temp : {cpuTemp}°C')
1 Like
Well I have done it again this time i have got animating widget image added with icons
https://www.youtube.com/watch?v=0YbDhvnn4ZQ
How i done it was take the WiFi code and just take out everything i do not need and added the system monitor stuff in its place
This is the gif used for all the images,
- Save it this gif to the pi-top and rename it to cpu_info.gif (assuming you put it on Desktop)
- add it to
/usr/share/pt-sys-oled/images/sys_infoviasudo cp /home/pi/Desktop/cpu_info.gif /usr/share/pt-sys-oled/images/sys_info/cpi_info.gif
- then chmod the file
sudo chmod 644 /usr/share/pt-sys-oled/images/sys_info/cpu_info.gif
Do not forget to add a menu item for it
Here is the updated code for the animation
/usr/lib/pt-sys-oled/components/widgets/sys_info/cpu_info.py
import psutil
from gpiozero import CPUTemperature
from components.widgets.common.base_widgets import BaseSnapshot
from components.widgets.common.functions import get_image_file_path, draw_text
from components.widgets.common.image_component import ImageComponent
from components.widgets.common.values import (
    default_margin_x,
    common_first_line_y,
    common_second_line_y,
    common_third_line_y,
)

class Hotspot(BaseSnapshot):
    def __init__(self, width, height, mode, interval, **data):
        super(Hotspot, self).__init__(width, height, interval, self.render)
        self.cpu = CPUTemperature()
        self.width = width
        self.height = height
        self.mode = mode
        self.gif = ImageComponent(
            device_mode=self.mode,
            width=self.width,
            height=self.height,
            image_path=get_image_file_path("sys_info/cpu_info.gif"),
            loop=False,
            playback_speed=2.0,
        )
        self.cpuSpeed = ''
        self.cpuTemp = ''
        self.cpuLoad = ''
        self.cSpeed = ''
        self.initialised = False

        self.default_interval = interval

    def reset(self):
        self.gif = ImageComponent(
            device_mode=self.mode,
            width=self.width,
            height=self.height,
            image_path=get_image_file_path("sys_info/cpu_info.gif"),
            loop=False,
            playback_speed=2.0,
        )
        self.cpuSpeed = ''
        self.cpuTemp = ''
        self.cpuLoad = ''
        self.cSpeed = ''
        self.initialised = False
        self.interval = self.default_interval

    def set_data_members(self):
        self.cpuSpeed = round(float(psutil.cpu_freq(percpu=False).current))
        self.cpuTemp = round(self.cpu.temperature,2)
        self.cpuLoad = psutil.cpu_percent(percpu=False)
        self.cSpeed = f'{self.cpuSpeed} MHz' if self.cpuSpeed < 1000 else f'{self.cpuSpeed/1000} GHz'

        self.initialised = True

    def render(self, draw, width, height):
        first_frame = not self.initialised

        # Determine initial connection state
        if first_frame:
            self.set_data_members()

        # Determine connection state
        if not self.gif.is_animating():
            self.set_data_members()

        # Determine animation speed
        # TODO: fix frame speed in GIF
        # self.interval = self.gif.frame_duration
        if first_frame:
            self.interval = 0.5
        else:
            if self.gif.is_animating():
                self.interval = 0.025
            else:
                self.interval = self.default_interval

        # Draw to OLED
        self.gif.render(draw)
        if self.initialised and not self.gif.is_animating():
            self.interval = 1
            if self.gif.finished:
                draw_text(draw, xy=(default_margin_x,common_first_line_y), text=f'{self.cpuLoad}%')
                draw_text(draw, xy=(default_margin_x,common_second_line_y), text=f'{self.cSpeed}')
                draw_text(draw, xy=(default_margin_x,common_third_line_y), text=f'{self.cpuTemp}°C')

            elif self.gif.hold_first_frame:
                draw.ellipse((69, 21) + (83, 35), 0, 0)
                draw.ellipse((70, 22) + (82, 34), 1, 0)
                draw.line((73, 25) + (78, 30), "black", 2)
                draw.line((74, 30) + (79, 25), "black", 2)
4 Likes
@CAProjects wowwwww, I lovee it, looks so nice. Can’t wait to try it out. Well done and thanks so much for sharing this with us. The menu system is beginning to look so much nicer and packed with new features🎉